.0f80z51umvk0q.svg)
Pages
This section walks through the main pages in the terminal app and explains what each one is used for. Some pages are straightforward, so the explanations are intentionally brief, but understanding the layout is useful when troubleshooting.
Main Page
The main page is the default page when the app starts up and will be the page you expect to see most of the time.
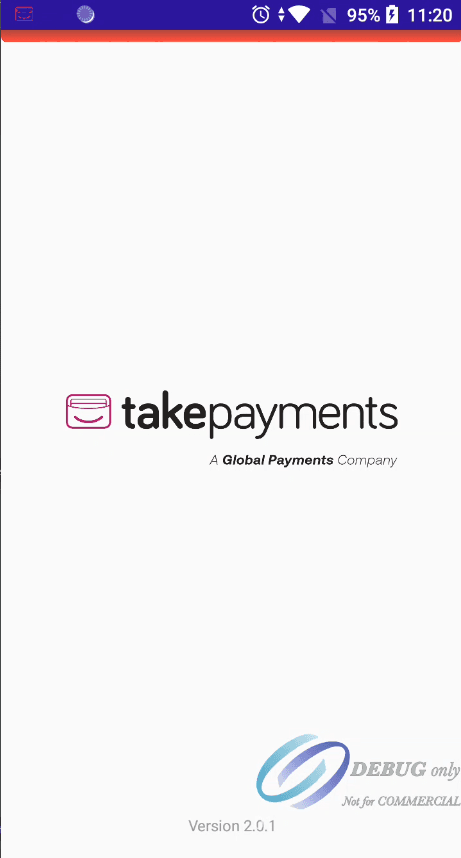 Main Page
Features:
1. Status bar at the top of the page:
| Status | Colour | Connection Types |
|---|---|---|
| Connected | Green | Non-Legacy, Legacy |
| Reconnecting | Yellow | Non-Legacy, Legacy |
| Connecting | Yellow | Non-Legacy, Legacy |
| Awaiting Pairing | Blue | Non-Legacy |
| Disconnected | Red | Non-Legacy, Legacy |
2. Take Payments Logo:
Tapping this logo 5 times in quick succession will navigate you to the supervisor challenge page.
3. Pay At Table Button:
To enable this button, you will have to toggle the enable PAT switch on the PAT Settings Page (See PAT Settings Page.). Clicking on this button will navigate you to the PAT Location Group Page (See PAT Location Group Page.)
4. App Version Number:
Self-explanatory. If any app issues are encountered, you may be asked to provide this version number.
Supervisor Challenge Page
The supervisor challenge page is the gateway into the supervisor menu page. You must input your supervisor code.
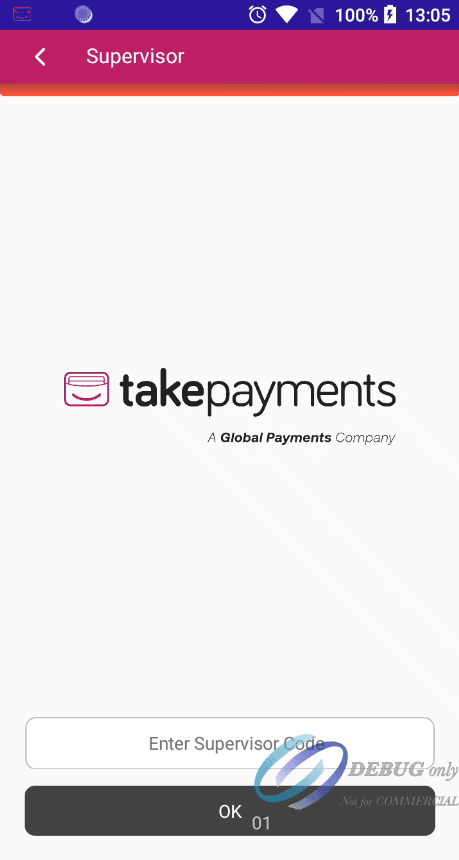 Supervisor Challenge Page
Features:
1. Supervisor Code Input:
Your supervisor code will initially be the last 4 digits of the terminal’s serial number (found on the back of the A920). We strongly advise that you change this upon receiving your terminal. You have 3 attempts to correctly input your supervisor code. If you have locked your terminal, contact support.
Supervisor Menu Page
The supervisor menu page is an uncomplicated page. It can be summed up as a navigation hub with a couple other features tacked on.
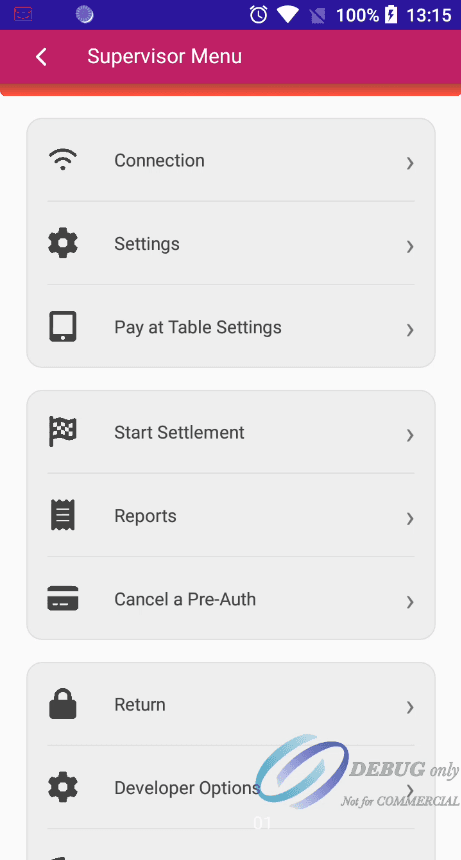 Supervisor Menu Page
Features:
1. Connection:
Tapping will navigate you to the connection page (see connection page).
2. Settings:
Tapping will navigate you to the settings page (see settings page).
3. PAT Settings:
Tapping will navigate you to the PAT settings page (see PAT settings page).
4. Reports Menu:
Tapping will navigate you to the reports menu page (see reports menu page).
5. SettlementEvo:
Tapping will trigger a settlement.
6. Cancel a Pre-AuthEvo:
Tapping will cancel an open pre-authorisation.
7. Return:
Tapping will exit the supervisor menu.
8. Developer Options:
Tapping will navigate you to the developer challenge page (see developer challenge page).
9. Exit Application:
Tapping will exit the application. Note that this exits the UI only; the application will continue running in the background.
Connection Page
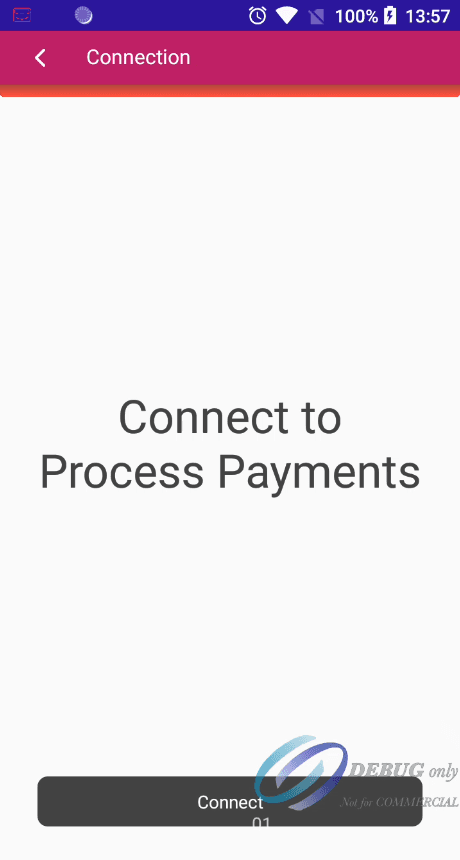
The connection page is where you manage connecting and disconnecting the device from our servers. It currently has two versions: ‘legacy’ and ‘non-legacy’. Both are supported but ‘non-legacy’ is the preferred flow for new integrators. To migrate to ‘Non-Legacy’ from ‘Legacy’.
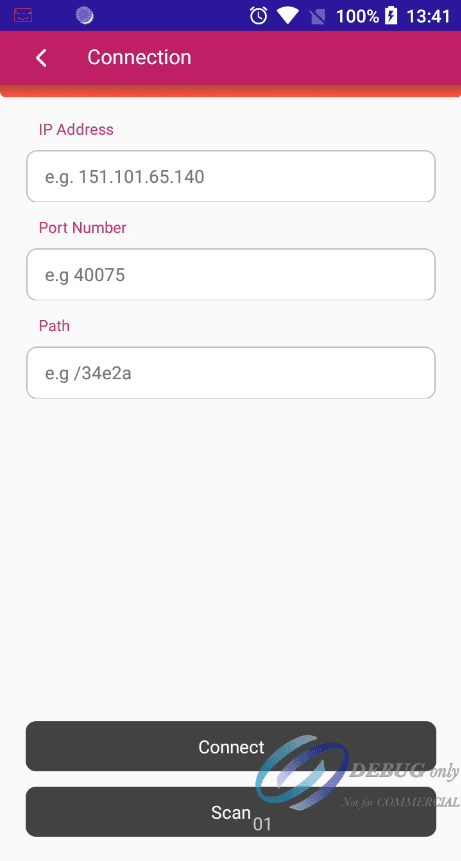 Connection Legacy Page
 Connection Non-Legacy Page
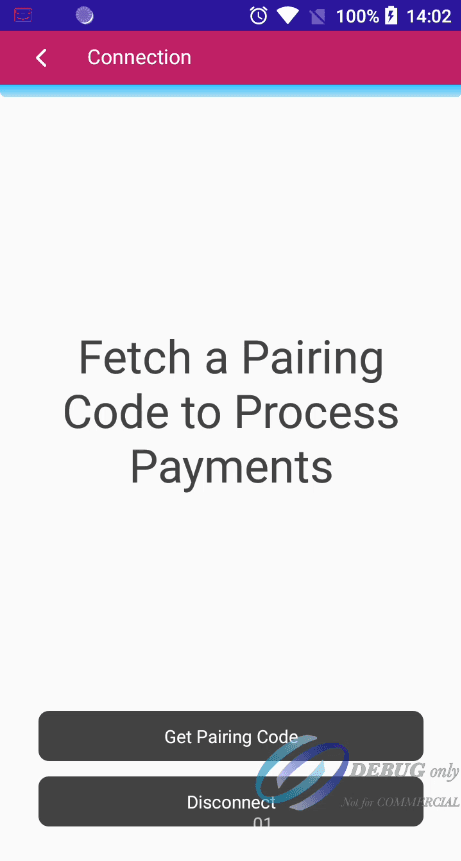 Connection Non-Legacy Awaiting Pairing Page
Features:
1. Field InputsLegacy:
There are inputs for the IP, Port and Path. These can be typed in manually but that would be laborious and is not recommended. Instead, we recommend generating a QR code from these values and using the scan button. (See ‘Generating a Connection QR Code’)
2. Scan ButtonLegacy:
Tapping the scan button will open the camera screen on the terminal. If you scan a QR code that has been made via our recommended methods (See ‘Generating a Connection QR Code’).
3. Get Pairing Code ButtonNon-Legacy:
Tapping the button will display a pairing code on the screen
4. Connect / Disconnect:
Tapping the respective button will connect or disconnect the terminal from our back-end. It will not require you to pair again if you have already paired.
Settings Page
The settings page is where most of the settings can be altered. A lot of these are set once and forget.
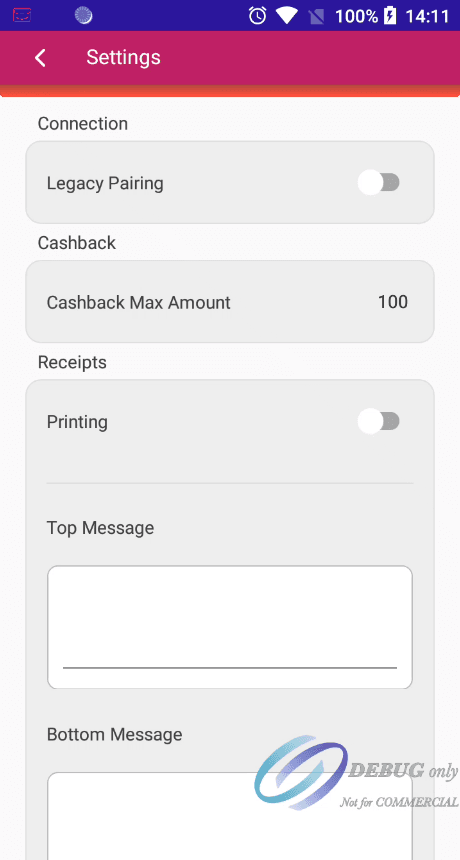 Settings Page
Features:
1. Legacy Pairing Switch:
Legacy toggled => The terminals connection page will use legacy pairing. Legacy untoggled => The terminals connection page will use the non-legacy pairing.
2. Gratuity Prompt SwitchPos:
Toggling this will prompt the user for gratuity when a sale is started on the terminal.
3. Cashback Max AmountPos:
Adjust the maximum amount of cashback that can be processed by the terminal.
4. Receipt Printing:
Turn printing off or on for the terminal
5. Top Message:
AddDetail
6. Bottom Message:
AddDetail
7. Address Line 1:
This will appear on the receipts
8. Address Line 2:
This will appear on the receipts
9. Idle Timeout:
AddDetail
10. New Supervisor Code:
This allows you to change the supervisor code for the device. Recall this is the code used to access the supervisor menu. We strongly recommend that you change this value from the defualt.
Reports Menu Page
The reports menu page consists of 2 different types of report that vary depending on the acquirer you are set up with. Despite naming differences their purposes are the same. Loosely an ‘X Report’ and a ‘Z Report’.
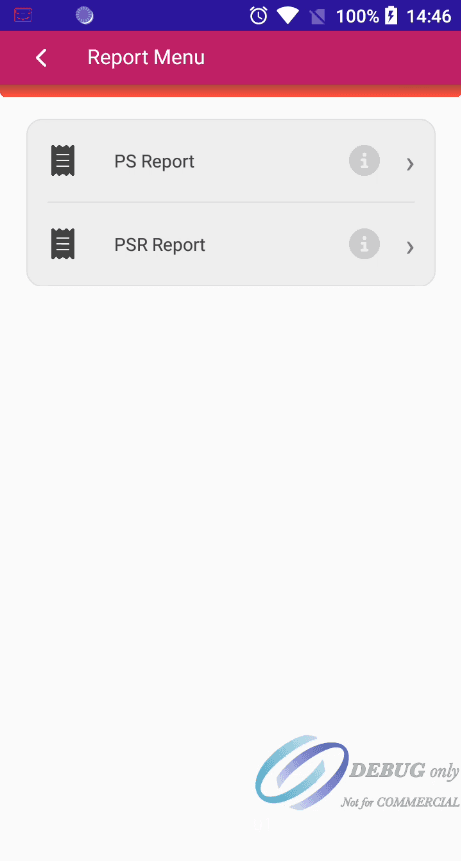 Reports Menu Page
Features:
1. X ReportPos:
An X Report is a sales report for the current time. It does not end the day and cannot be used for bookkeeping.
2. Z ReportPos:
A Z Report is an end of day report that should be made after every sales day. The Z Report ends the sales day and can be used for bookkeeping.
3. Period Short (PS)Evo:
The PS Report is a sales report, like that of an X Report. It does not end the day and cannot be used for bookkeeping.
4. Period Short Reset (PSR)Evo:
The PSR Report is an end of day report that should be made after a sales day, like that of a Z Report. It ends the sales day and can be used for bookkeeping.
Report Display Page
The report display page is navigated to after selecting a report on the report menu page e.g. X Report. It will immediately display the requested report in a scrollable format. There are no notable features other than the display of the requested report.
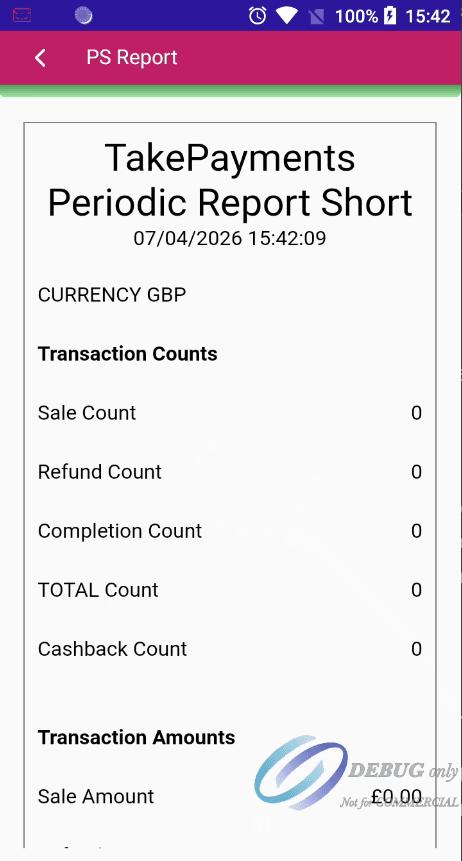 Report Display Page
PAT Settings Page
The PAT settings page controls all settings relating to PAT. Connecting to PAT will depend on whether you are using the Legacy or Non-Legacy pairing.
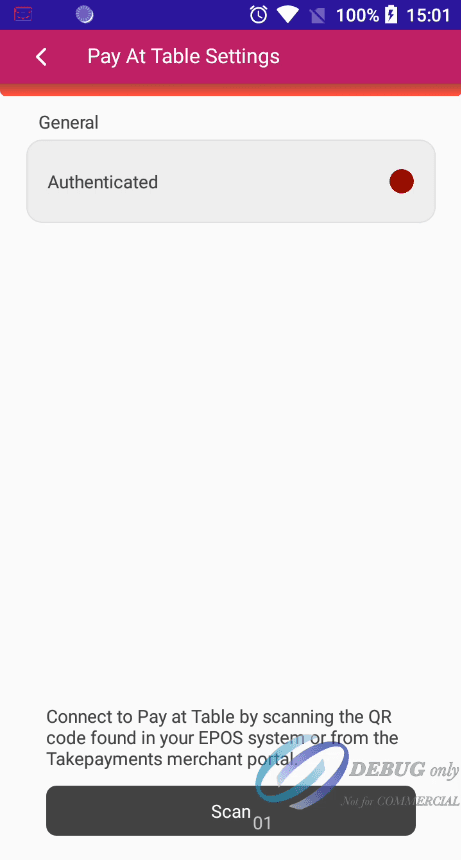 Pay At Table (PAT) Settings Page
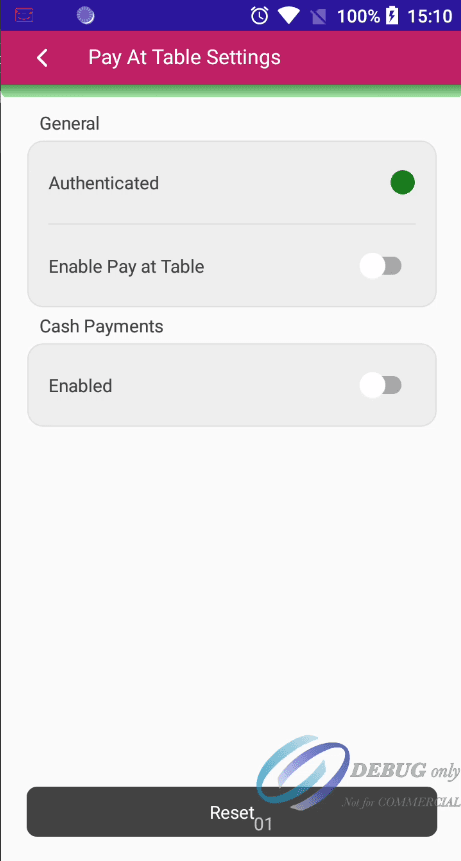 Pay At Table (PAT) Settings Page
Features:
1. Authenticated Indicator:
If the indicator is not green, then you will not be able to enable PAT. First you must authenticate. If on a legacy connection you must scan a QR code, see ‘Scan Button’ below. If on a non-legacy connection, you must pair the terminal first.
2. Scan Button:
If your terminal is using legacy pairing, then you must use this button to scan a PAT QR code to authenticate.
3. Enable PAT Switch:
When toggled this will add the Pay At Table button to the main page, allowing the use of PAT. This can only be toggled if the device is authenticated. For a legacy connection this means scanning a QR Code. For a non-legacy connection this means the device must be connected.
4. Enable Cash Payments Switch:
When toggled this will allow cash payments to be accepted on the PAT order page.
5. Clear Settings Button:
When tapped this will reset the above settings to their default values.
PAT Location Group Page
This page displays the PAT Location Groups, PAT Locations and PAT Orders as a collapsible hierarchy. Clicking on an order will navigate you to the PAT order page for that order. If you have not created any of these yet this page will be blank. We recommend that you visit the merchant portals PAT page. From here it would be easy to play around with groups, locations, orders and items. Note that paid orders will not appear in this hierarchy. Note that hierarchy elements with no children assigned will not be clickable. To refresh the page, navigate back to the main page and click the PAT button again.
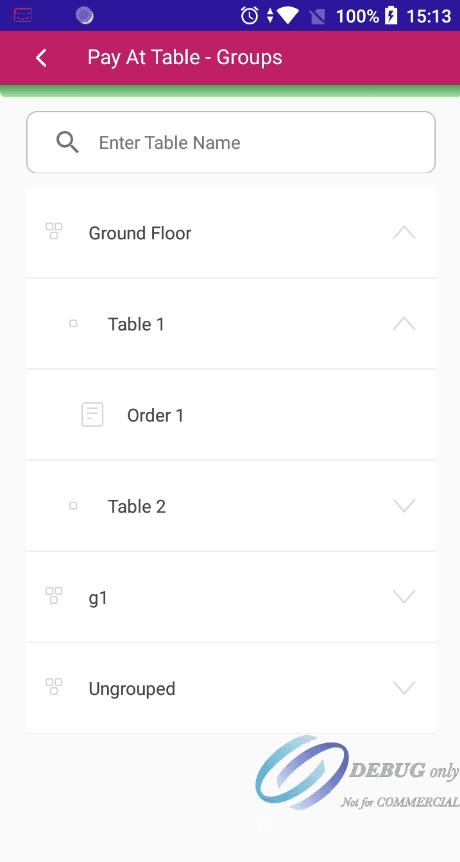 PAT Hierarchy Page
Features:
1. Search Bar:
AddDetail
2. PAT Entity Hierarchy:
Tapping groups, locations, and orders allows you to navigate the hierarchy. This is done with the intention of finding the order and once that is tapped you will be navigated to the order page for that order.
PAT Order Page
This page displays a summary of the selected PAT order from the PAT location group page. And enables the triggering of three actions: card transactions, cash transactions (if enabled in PAT Settings) and summary printing.
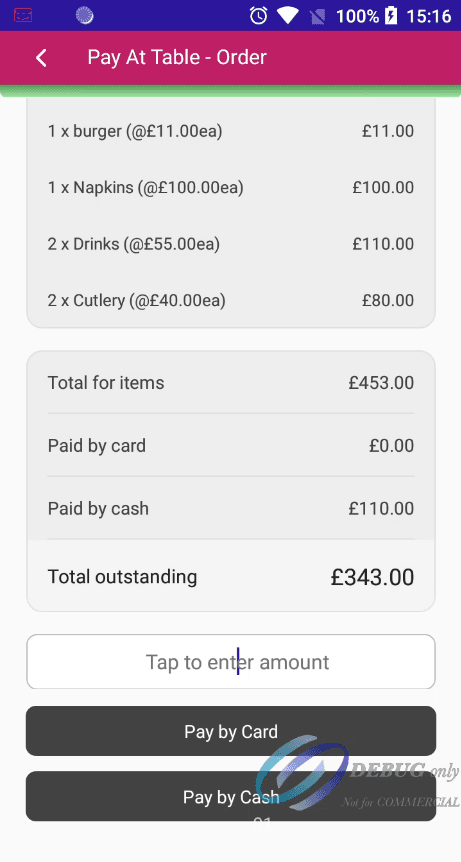 PAT Order Page
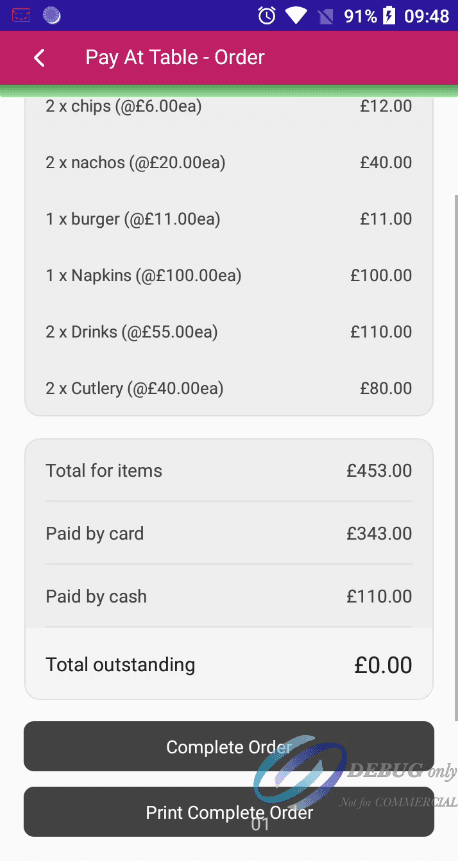 PAT Order Page (Complete)
Features:
1. Items Summary:
Shows a scrollable section of 1 item per row, displaying quantity, item name, unit price and total.
2. Order Summary:
Shows a totals for: total for all items, total amount paid by card & cash respectively, and the total outstanding for the order.
3. Card & Cash Payment Buttons:
Enter an amount into the input and then tap the card / cash button. This will initiate a card / cash transaction against the order. For a card payment, After the payment has been completed you will be navigated back to the order page showing the updated summary.
4. Print Buttons:
Tapping this button will print a snapshot style breakdown of the PAT order state. Essentially printing the details that are shown on the PAT order page at any given time in the orders payment.
Developer Challenge Page
The developer challenge page is the gateway to the developer settings page. Once the code is entered correctly you will be navigated to the developer settings page.
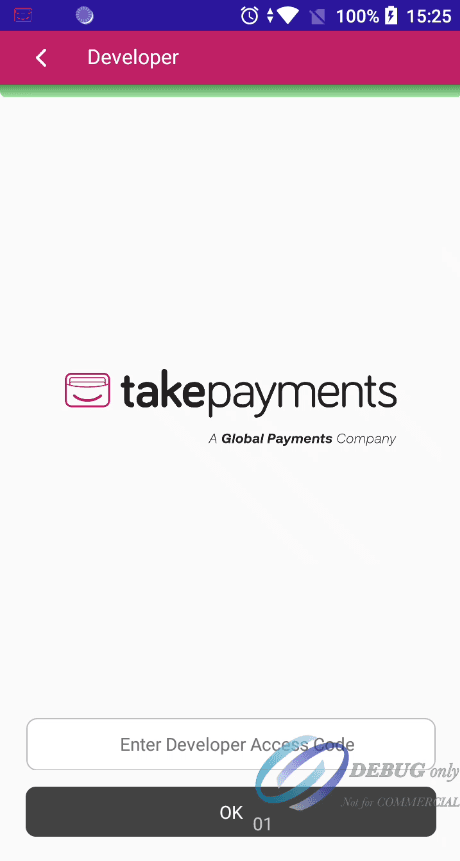 Developer Challenge Page
Cashback Page
Input the amount of cashback you would like and hit enter. If you are inactive on this screen for too long a cancel modal will open. After the modals countdown finishes the transaction will be cancelled and you will be returned to the main page.
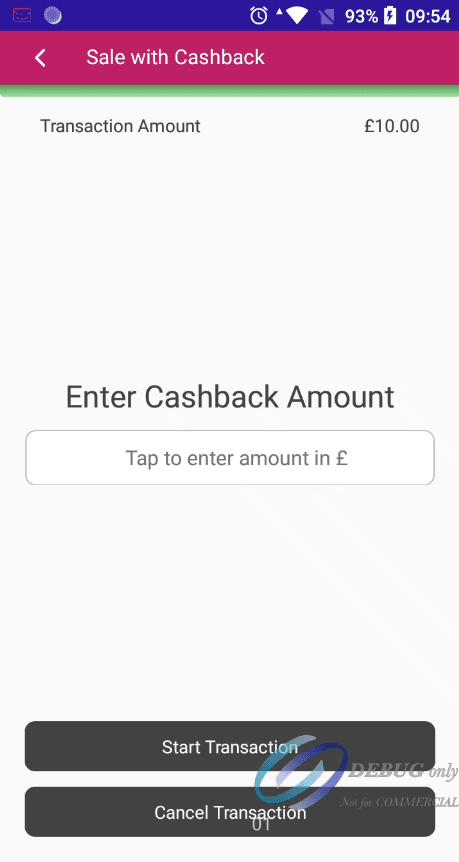 Cashback Page
Pre Auth Cancellation PageEvo
AddDetail
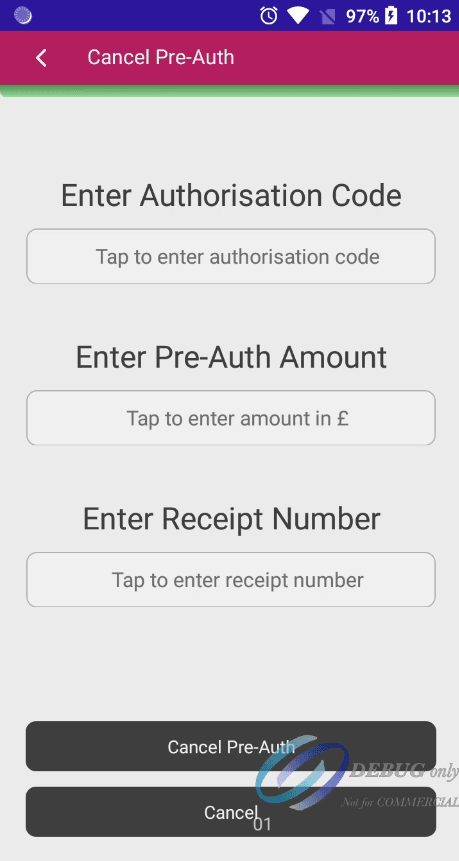 Cancel Pre Authorisation Page
Completion PagePos
Input the auth code from the pre-authorisation. The auth code can be found on the receipt and the transaction, both of which can be fetched using the api.
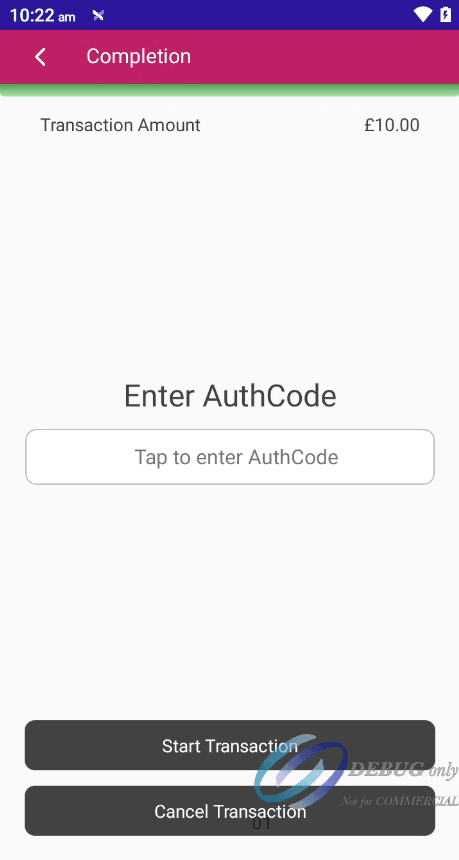 Completion Page
Reversal PagePos
Input the full amount of transaction you intend to reverse. Input the receipt number. Tap start reversal. If you are inactive on this screen for too long a cancel modal will open. After the modals countdown finishes the transaction will be cancelled and you will be returned to the main page. Note: acquirers have time-based requirements for which transactions can be reversed.
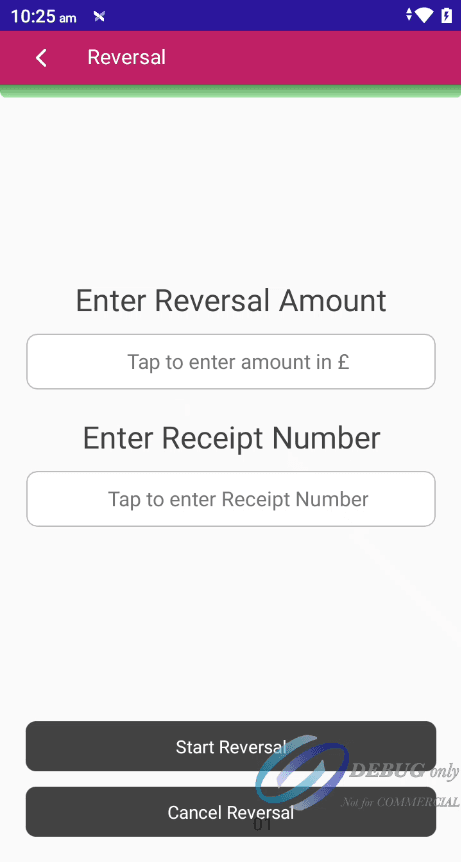 Reversal Page
Gratuity PagePos
Input the amount of gratuity you wish for and tap enter. If you are inactive on this screen for too long a cancel modal will open. After the modals countdown finishes the transaction will be cancelled and you will be returned to the main page.
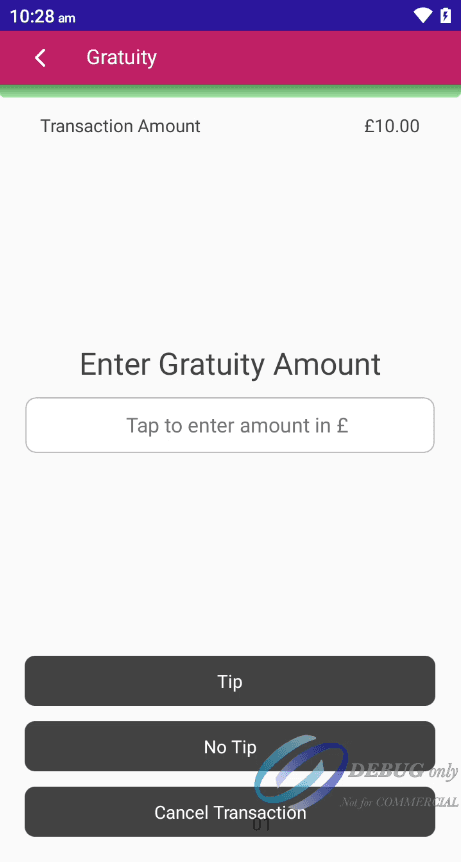 Gratuity Page
Receipt Page
This page will only be shown if receipts are toggled on the settings page.
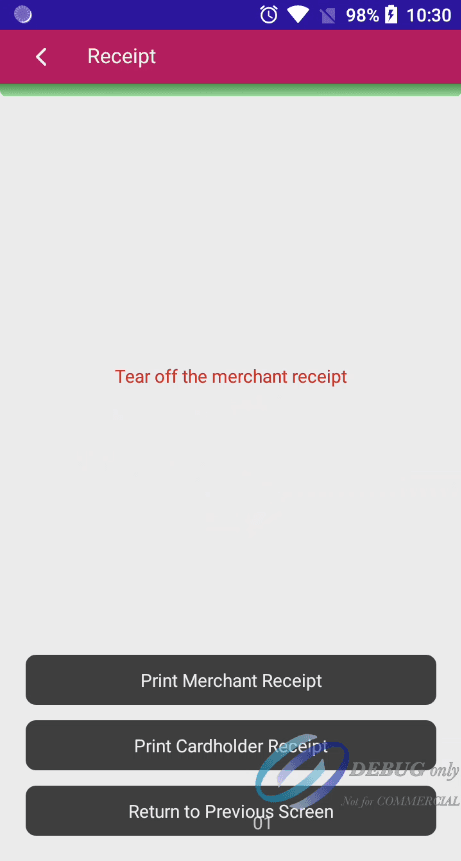 Receipt Page
Features:
1. Merchant / Cardholder Receipt Button:
Tapping will print the resepective receipt